CommunicationCentre
From Wiki
Contents |
Communication Centre
The Communication Centre lets you send communications to publishers joined to your programme to inform them of
- upcoming offers and promotions
- programme updates, such as commission changes or updates to terms and conditions
The tool also allows you to send automated Triggered Communications to publishers on your programme that meet certain performance criteria. You can read more here.
Creating a Communication
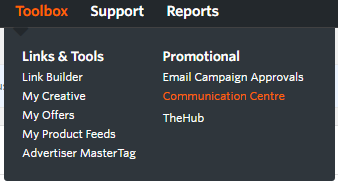
To send a communication, navigate to Toolbox > Promotional > Communication Centre.
Next, click on ‘Create’ and choose your starting point:
- Editor: Create a new communication in the editor
- HTML: Add your own html for greater design flexibility. We recommend for your html to not exceed a width of 800px to fit the display capabilities of most email clients.
- Template: Follow the instructions for creating a communication and then save as template. You can then select it as a starting point for your communication and are able to make further changes in the editor before sending.
Editor
The Editor is split into the Header, Body and Footer:
Header
The header is automatically populated with the logo you uploaded to your profile. You are able to add an alternative logo by clicking on the ‘image’ icon if you prefer to do so and can further change the alignment of the logo based on your preferences.
Body
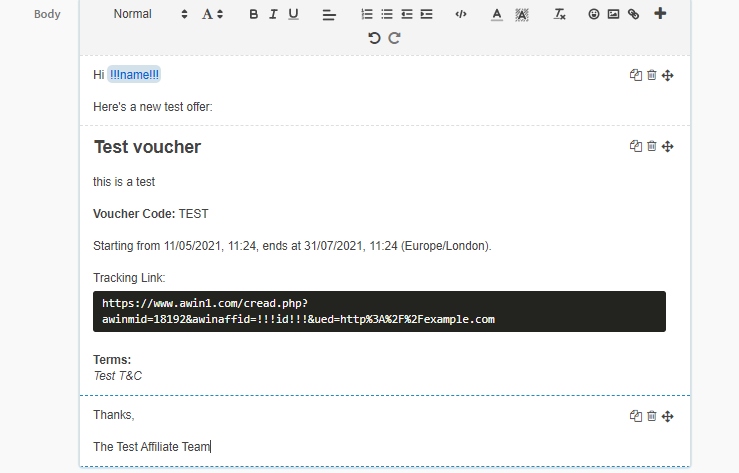
This is where you compose your message. Use the toolbar to
- change the design of your communication by changing the font, font size, font colour, highlight text, add lists or bullet points, images and emojis
- organise your communication into sections for flexibility on the layout by clicking "+" to add a new section
You can also insert dynamic parameters such as !!!name!!! to greet publishers by their first name or !!!id!!! to automatically have a publisher’s ID populated within Awin tracking links.
All progress is automatically saved, so you can easily continue to create your communication at a later date by finding it saved as a ‘Draft’ and clicking the pencil icon to edit it further.
Footer
The footer includes legal information regarding the sending of the email as well as an unsubscribe link for publishers. It’s not editable and is added to every communication.
Adding an Offer/Promotion into a Communication
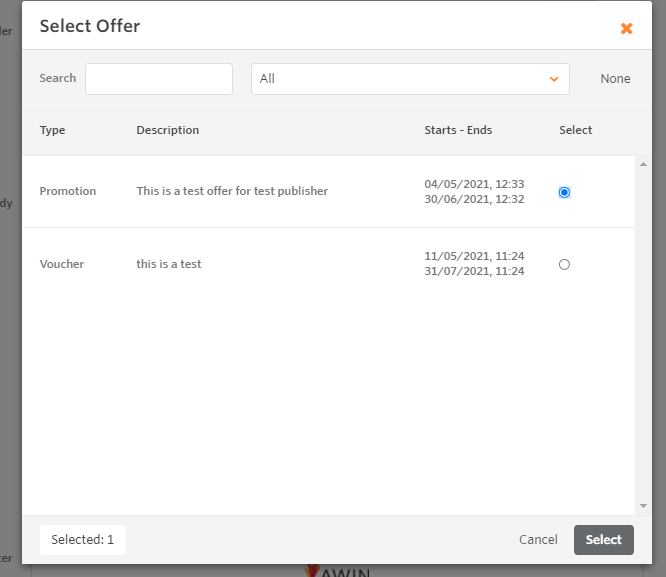
The Communication Centre is integrated with My Offers. By clicking the ‘+’ button in the editor’s toolbar you can easily add a previously created offer or promotion from My Offers to your communication.
Adding a voucher/promotion will include information such as offer details, terms and conditions and the tracking deeplink.
Please note: If you added a voucher/promotion from My Offers to your communication and scheduled this to be sent out in the future, any future changes made to the offer/promotion within My Offers, will not be reflected in your communication.
To ensure changes are updated in your communication, please go back to your scheduled communication and re-add the updated voucher/promotion in question.
Configure Communication Settings or Save as Template
Once you have created your communication, you have two options to proceed, Communication Settings and Save as Template.
Communication Settings
If you’re ready to send or schedule your communication, proceed with ‘Communication Settings’. Here you’ll need to set the following:
Subject Line
- Add a few words to make publishers understand what your communication is about
- Your advertiser name and ID are automatically added to the email publishers receive (e.g. Example Advertiser (1234): SUBJECT LINE)
Communication type
- Normal: A communication for a configured list of recipients on a specified delivery schedule
- Triggered: An automatic communication for recipients that meet specified performance criteria
For more information about triggered communications, refer to Triggered Communications.
Category
- Choose between ‘Promotional News’ (promotions, sales messages, voucher codes etc. you’d like to make your publishers aware of) and ‘Programme Updates’ (important information regarding your affiliate programme you need to communicate)
- It’s very important to choose the correct category for your communication as publishers can manage their subscription preferences based on those categories
Audience
- The default audience is ‘All Joined Publishers’
- You you are able to make custom selections by using the dropdown options available to select one or multiple publisher tags, publisher promotional types and/or individual publishers
Schedule For
- Choose to send your communication ‘now’ or select a date and time in the future.
Once you have completed all fields, click ‘Create’ to have your communication prepared for immediate sending or scheduled for the date and time in the future you have specified.
Save as Template
If you’d like to create a template for a communication that you’re going to be re-using frequently, for example to communicate a specific type of promotion to your publishers, you can save your communication as a template.
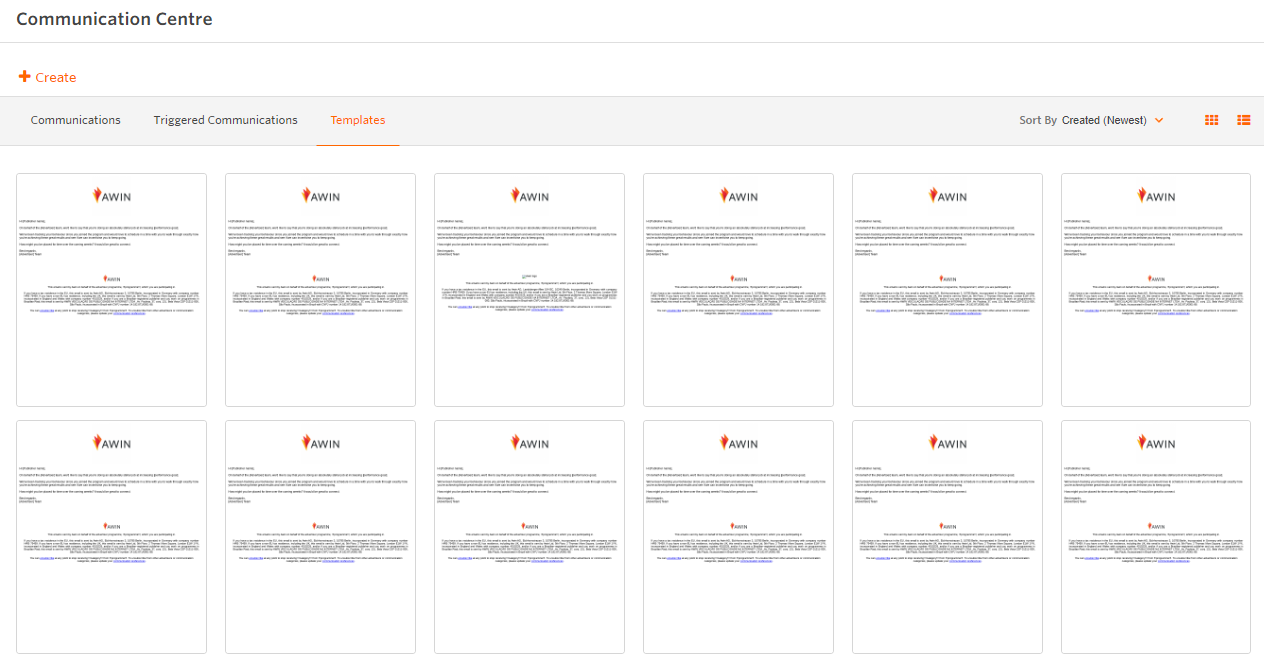
This will then let you find it in the 'Templates' tab in the Communication Overview as well as the carousel of templates shown when you’ve clicked ‘Create’ for easy access.
Previewing Communications and Sending Test Emails
Whenever you’re in editing mode (pencil icon), you can click the ‘screen’ icon next to it to see a preview of your communication.
While in preview mode, you can also choose to send yourself or other contacts a test email to see how this would look like.
You can add up to 5 email addresses at a time by clicking ‘Add another email address’. Should you wish to send it to more than 5, you can do so after the first 5 have gone out.
Please note:
- If no subject line has been created for your communication yet (set under ‘Communication Settings’), this will be blank in your test email too.
- In test emails, any dynamic parameters will show as placeholders and will only be dynamically be replaced in the actual emails going out to publishers.
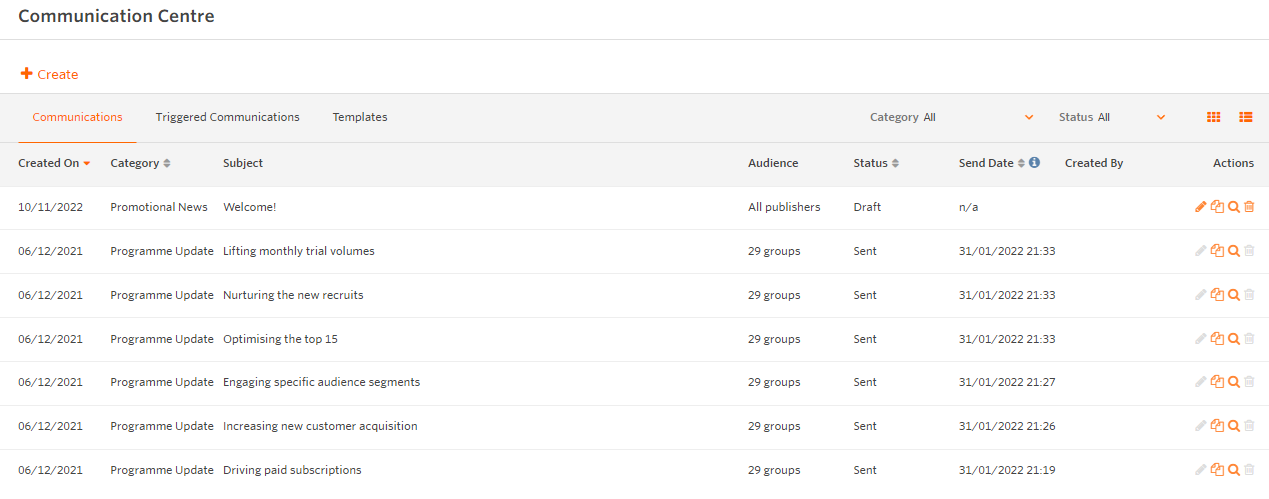
Communication Overview
The overview has three tabs:
- The ‘Communications’ tab that includes an overview of all sent, scheduled or draft communications
- The 'Triggered Communications' tab that includes an overview of all the automated triggers setup on the programme
- The ‘Templates’ tab where you can see and manage the templates you have created.
Depending on the status of your communication in the ‘Communications’ tab, different actions are available to you.
Communications in ‘Draft’ and ‘Scheduled’ status can be
- edited
- copied
- viewed
- deleted
Communications that have been ‘Sent’ can be
- copied
- viewed
You can also flick between a 'list' and 'grid' view for both tabs, depending on your preferences.

