TestPage
From Wiki
Contents |
[-] Google Tag Manager - Template Integration
Google Tag Manager - Template Integration
Step 1 - Installing the Journey Tag
The Awin Journey Tag is a JavaScript library that contains all the necessary functions for the Awin tracking to work as expected.
The Journey Tag NEEDS to fire on all possible landing pages of your website! We ask this is done, because the Journey Tag is responsible for the creation of a first party cookie when the user reaches the website. As the user can enter the website through multiple possible landing pages apart from the website's home page, we need to cover all entrance possibilities, therefore, we need the Journey Tag to fire on all pages.
If the user enters through a page, that does not contain the Journey Tag, we won't measure anything.
1) Navigate to "Tags"
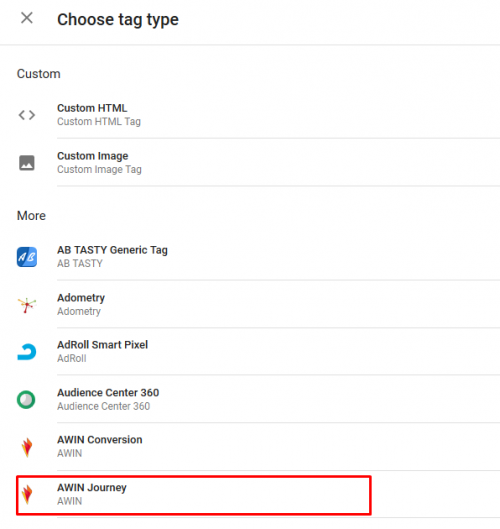
2) Click “New” and choose the ‘Awin Journey’ tag.
4) Enter your advertiser ID provided by your Integrator
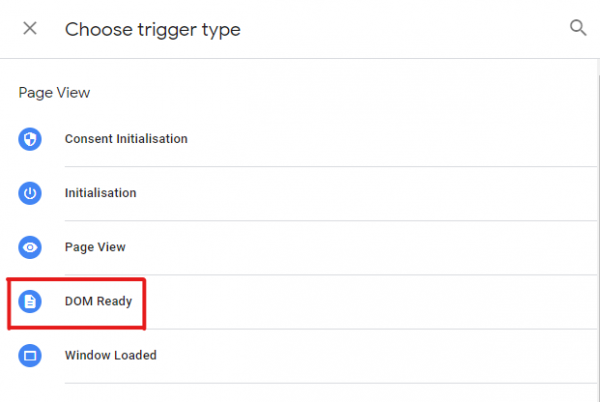
5) Select "DOM Ready" as the trigger to fire on "All DOM Ready events"
6) Add an exception for the Confirmation Page/Purchase event
7) Name and save this tag appropriately
Step 2 - Automatic de-duplication and the Channel Parameter
This allows Awin’s conversion tag to identify which was the last paid media to generate the last click in the user’s journey before the checkout, this way, Awin’s platform can determine which transactions came from Awin and which didn’t, thus having an automatic de-duplication performed.
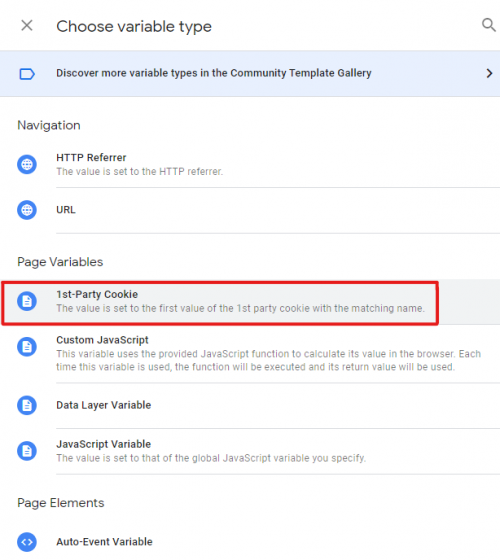
1) Create a new variable and name it “Awin - ChannelCookie”, this should be a First Party cookie variable:
2) Name the cookie this way “AwinChannelCookie”:
3) Add the trigger "All Pages"
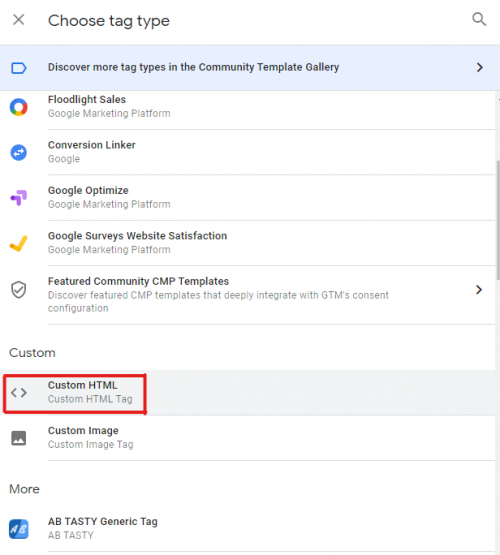
4) Create a new tag and name it “Awin - Last Click Identifier”, this should be a Custom HTML type tag:
6) Add the following code to this tag:
<script>
var iCookieLength = 30; // Cookie length in days
var sCookieName = "source"; // Name of the first party cookie to utilise for last click referrer de-duplication
var sSourceParameterName = ["utm_source", "gclid", "fbclid"]; // The parameter used by networks and other marketing channels to tell you who drove the traffic
var _getQueryStringValue = function (sParameterName) {
                var aQueryStringPairs = document.location.search.substring(1).split("&");
                for (var i = 0; i < aQueryStringPairs.length; i++) {
                                var aQueryStringParts = aQueryStringPairs[i].split("=");
                                if (sParameterName.includes(aQueryStringParts[0].toLowerCase())) {
                                                if(aQueryStringParts[1]=="awin"){
                                                                return 'aw';
                                                }
                                                else{
                                                                return 'na';
                                                }
                                }
                }
};

var _setCookie = function (sCookieName, sCookieContents, iCookieLength) {
                var dCookieExpires = new Date();
                dCookieExpires.setTime(dCookieExpires.getTime() + (iCookieLength * 24 * 60 * 60 * 1000));
                document.cookie = sCookieName + "=" + sCookieContents + "; expires=" + dCookieExpires.toGMTString() + "; path=/;";
};

if (_getQueryStringValue(sSourceParameterName)) {
                _setCookie(sCookieName, _getQueryStringValue(sSourceParameterName), iCookieLength);
}
if (document.cookie.indexOf("source=") < 0){
    _setCookie(sCookieName, "aw", iCookieLength);
}
</script>
Step 3: Define the Awin sale tracking
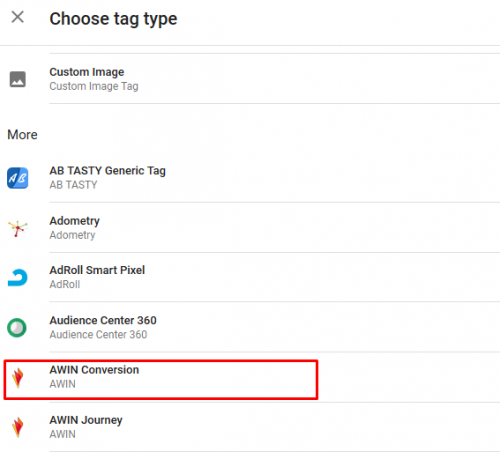
1) Create a new Awin Tag and select the ‘Awin Conversion’ Tag.
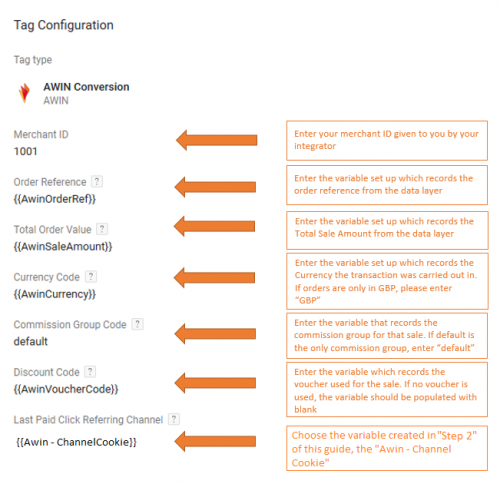
2) Defining you DataLayer values, in case you don't know how to map DataLayer variables, here is a guide you can follow on How to map DataLayer variables in GTM
3) Select the trigger that fires once a conversion or the desired event occurs. (The "success" page for conversions, or an confirmation event for leads).
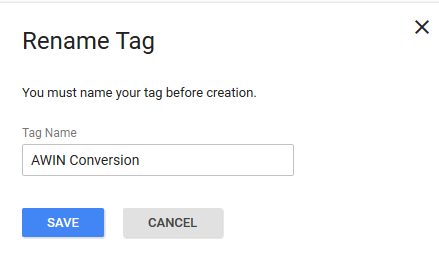
4) Click ‘Save’ and you will then be asked to rename the Tag but you can leave it as it is.
5) Click ‘save’ and you should now have two Tags listed in the Tags table.
Step 4 - Product Level Tracking (PLT)
This step should only be followed by e-commerces, if you do not have an e-commerce, please ignore this step.
Product Level Tracking allows the advertiser to generate much detailed deports, it shows the performance for each product in the shoppinf cart individually, this is specially relevant for e-commerces.
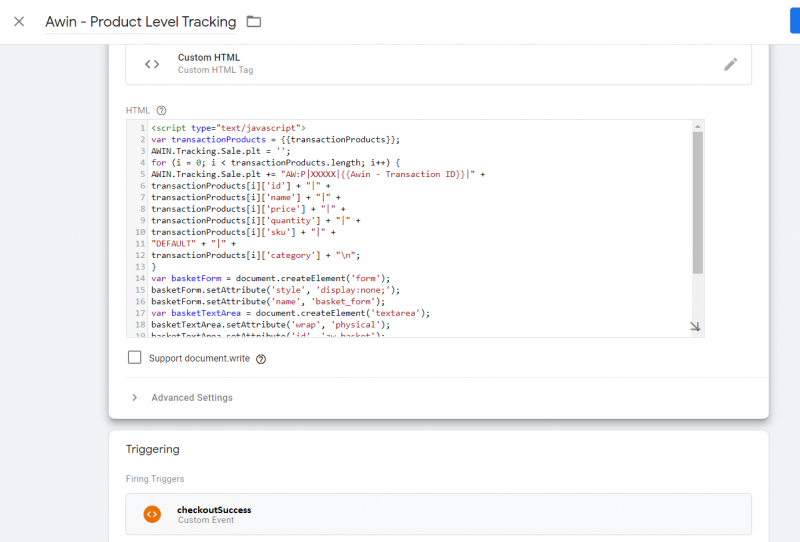
1) Create a new tag of type "Custom HTML" and paste the following Code:
<script type="text/javascript">
var transactionProducts = {{transactionProducts}};
AWIN.Tracking.Sale.plt = '';
for (i = 0; i < transactionProducts.length; i++) {
AWIN.Tracking.Sale.plt += "AW:P|XXXXX|{{Awin - Transaction ID}}|" +
transactionProducts[i]['id'] + "|" +
transactionProducts[i]['name'] + "|" +
transactionProducts[i]['price'] + "|" +
transactionProducts[i]['quantity'] + "|" +
transactionProducts[i]['sku'] + "|" +
"DEFAULT" + "|" +
transactionProducts[i]['category'] + "\n";
}
var basketForm = document.createElement('form');
basketForm.setAttribute('style', 'display:none;');
basketForm.setAttribute('name', 'basket_form');
var basketTextArea = document.createElement('textarea');
basketTextArea.setAttribute('wrap', 'physical');
basketTextArea.setAttribute('id', 'aw_basket');
basketTextArea.value = AWIN.Tracking.Sale.plt;
basketForm.appendChild(basketTextArea);
document.getElementsByTagName('body')[0].appendChild(basketForm);
<!----End Product Level Tracking--->
</script>

<script defer="defer" src="https://www.dwin1.com/XXXXX.js" type="text/javascript"></script>
2) Adjust the variables so that they reflect the variables in your GTM container. Here is a description of the necessary variables:
* {{transactionProducts}} - Needs to reflect the array of products inside of the shopping cart..
* {{Awin - Transaction ID}} - Needs to receive the order ID.
* XXXXX - Should be changed to your MID (Merchant ID), There are two instances of this in the previous code, please update both!
Step 6 - Tests
1) All done! Now just publish the changes!
2) You can follow this guide on How to Test the Awin Tags or contact your Integrator for further assistance!

